How To Fix a Running Toilet
A running toilet might seem like a small annoyance for most Severna Park, residents, but it can quietly waste hundreds of gallons of water every day—and drive up your utility bill in the process. That constant trickling or hissing sound isn’t just irritating; it’s a sign that one or more internal components aren’t working as they should.
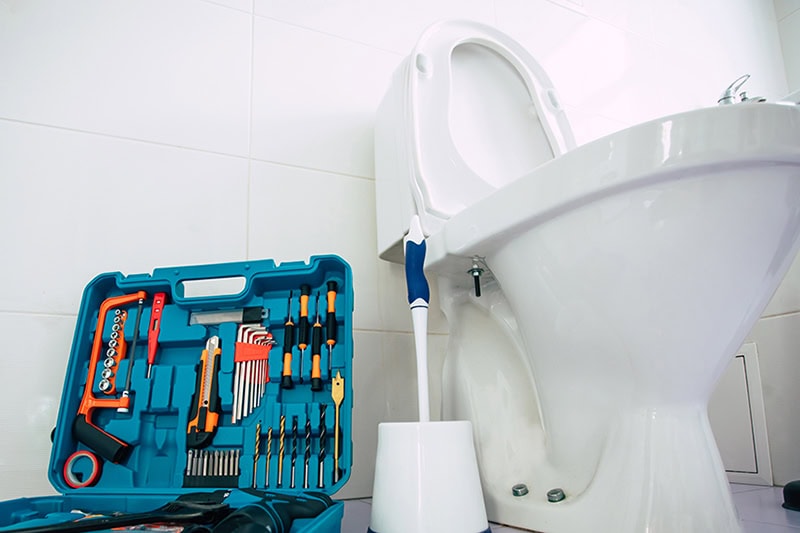
The good news? Most running toilet issues are surprisingly easy to fix. With a little patience, you can often stop the problem in less than an hour. Follow along as Alpha Plumbing breaks down why toilets run, how to diagnose the issue, and what you can do to fix it.
Why Is My Toilet Running?
A toilet runs when water continues flowing from the tank into the bowl after a flush. Normally, the tank refills to a set level and then shuts off automatically. When something interferes with that process, water keeps moving—and so does your water meter.
The most common causes of a running toilet include:
- A worn or misaligned flapper
- An improperly adjusted float
- A fill valve that isn’t shutting off
- A chain that’s too long or too short
How to Repair a Running Toilet
Understanding which part is responsible is the key to an effective repair.
Step 1: Remove the Tank Lid and Inspect
This quick visual inspection often reveals the problem right away. Carefully lift the toilet tank lid and set it aside. Flush the toilet and watch what happens inside the tank.
Ask yourself a few questions:
- Does water continue flowing into the overflow tube?
- Does the flapper close completely after flushing?
- Does the water level rise too high?
Step 2: Check the Flapper
The flapper is a rubber or silicone seal at the bottom of the tank that lifts when you flush and seals the tank afterward. Over time, flappers can warp, crack, or become coated with mineral buildup, preventing a tight seal—leaking water into the bowl.
How to replace a toilet flapper:
- Shut off the water and drain the tank: Turn the angle stop valve behind the toilet clockwise to shut off the water supply. Flush the toilet and hold the handle down to empty most of the water.
- Remove the old flapper: Disconnect the flapper chain from the flush handle lever and unhook the flapper’s side tabs from the overflow tub. Remove and dispose of it.
- Inspect and clean the seat: Check around where the flapper seals for mineral buildup and clean it.
- Install the new flapper: Attach the new flapper’s tabs onto the overflow tube pegs so it sits evenly over the flush valve opening. Make sure it can move freely and lies flat when closed.
- Reconnect the chain: Clip the flapper chain to the flush handle lever, leaving a small amount of slack—about ½ inch—so the flapper opens fully without holding it open after flushing.
- Turn water back on, test, and adjust: Open the shutoff valve and allow the tank to refill. Make minor chain adjustments if needed.
Step 3: Inspect the Chain
The chain connects the flush handle to the flapper. If it’s too long, it can get caught under the flapper or can kink up and prevent it from sealing. If it’s too short, the flapper may not close fully.
How to fix the flapper chain:
- Inspect the flapper chain: Look for twists, knots, or kinks in the chain that could prevent the flapper from lifting or sealing properly. Straighten the chain so it hangs smoothly.
- Adjust the chain length: Ensure there is about ½ inch of slack when the flapper is fully closed.
- Check chain alignment: Make sure the chain hangs straight down and does not rub against the overflow tube or tank walls, which could cause tangling or uneven movement.
- Test and fine-tune if needed: Perform a test flush to confirm the chain lifts the flapper smoothly and drops it back into place without snagging. Adjust as needed.
Step 4: Adjust the Float
The float controls the water level in the tank. When it rises to the correct height, it signals the fill valve to shut off. If the float is set too high, water will spill into the overflow tube and keep the toilet running.
How to adjust the float:
- Shut off the water and open the tank: Turn off the water to the toilet. Determine whether your toilet uses a float cup or a float ball.
- Adjust a float cup (slides up and down the fill valve): Locate the adjustment knob or screw on the side of the fill valve. Turn it clockwise to lower the float and reduce the water level, or counterclockwise to raise the float and increase the water level.
- Adjust a float ball (attached to a metal rod): Gently bend the metal rod downward to lower the water level, or upward to raise it.
- Restore water and check level: Turn the water supply back on and allow the tank to refill. The water level should stop about one inch below the top of the overflow tube.
- Test and fine-tune as needed: Flush the toilet to ensure the float moves freely, the fill valve shuts off properly, and the tank refills to the correct level without running. Repeat adjustments as needed.
Step 5: Examine the Fill Valve
If adjusting the float doesn’t solve the issue, the fill valve itself may be worn out. A faulty fill valve may continue running water even when the tank is full—generating a hissing sound as it continuously tries to refill the tank.
How to replace a fill valve:
- Shut off the water and empty the tank: Stop the water flow to your toilet. Flush the toilet and hold the handle down to drain the tank as much as possible.
- Remove the old fill valve: Detach the water supply line from the bottom of the fill valve. Using pliers, loosen and remove the large mounting nut underneath the tank that secures the valve. Pull the refill tube off the overflow pipe and lift the old valve out.
- Set up the replacement valve: Adjust the height of the new fill valve so that, once installed, its top sits about one inch higher than the overflow tube.
- Install the new fill valve: Slide the valve stem through the opening in the tank. Place the washer in position and hand-tighten the locking nut from underneath the tank to secure it.
- Reconnect water lines: Reattach the refill tube to the new fill valve and connect it to the overflow tube. Thread the supply line back onto the valve and tighten it by hand.
- Turn on the water, check for leaks, and fine-tune: Slowly turn the water supply back on and allow the tank to refill. Check connections for leaks and flush the toilet to confirm proper function. Adjust the float as needed.
When to Call a Plumber
While many running toilet issues are DIY-friendly, it’s time to call a plumber near you if:
- Repairs don’t stop the running
- There are hairline cracks in the tank
- You notice water damage around the base
- Multiple components are failing at once
- You’re uncomfortable working with plumbing connections
A professional can diagnose hidden issues, ensure proper installation, and help prevent future problems. In Severna Park, Alpha Plumbing’s plumbing and toilet repair experts are ready to deliver fast, reliable solutions that restore comfort, prevent water waste, and protect your home from costly damage. Call 410‐824‐1552 or request service online.